Our Attendance and Leaves feature enables you to capture and monitor the time that your employees spend at a job site. Features include the ability for staff to check-in and check-out with their location captured, add leave team, search time entered, capture time by location, reports, and more!
GETTING STARTED
1) Log into your App Manager and select your app.
2) Click Features from the left-hand-side of the screen (or the middle of the screen).
3) Click Timesheets (or whatever is the name of your Attendance feature).
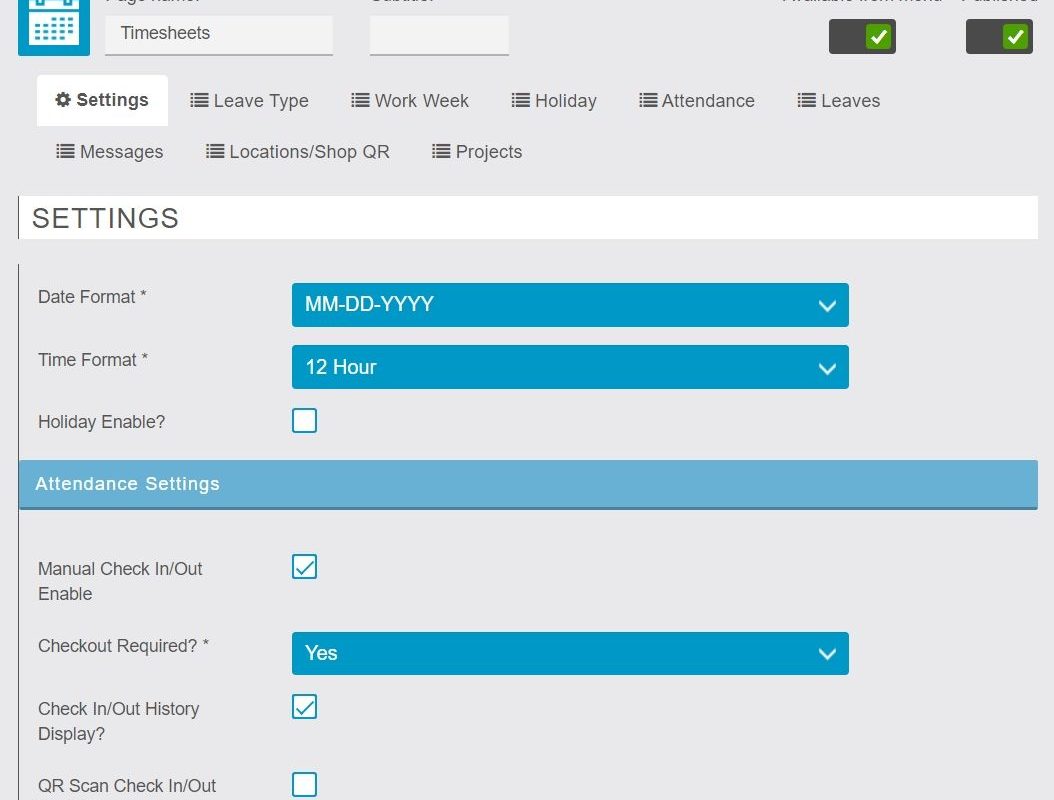
SETTINGS
DATE SETTINGS
Date Format – Select the method that you want your Dates displayed.
Time Format – Select the method that you want your Times displayed.
ATTENDANCE SETTINGS
Holiday Check In/Out – Turn on the ability to monitor Time Off.
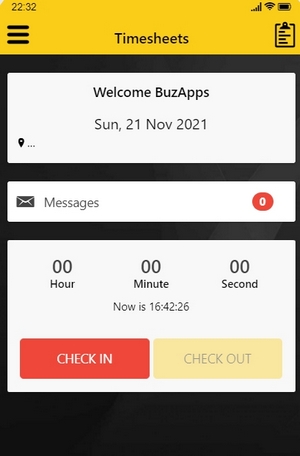
Manual Check In/Out– This feature enables the ability for the App User to Check-In and Check-Out directly in the app.
Check Out Required – If this is enabled, the App User must use the Check-Out feature to stop the clock from running.
QR Scan Check In/Out – This enables App Users to Check-In and Check-Out via scanning a QR Code.
Project Tracking Check In/Out Enable? – If you want to be able to monitor hours in respect to various projects, enable this option.
Fixed Working Hours – If you want used a fixed period of hours to be utilized by App Users, enable this option. If you are using Fixed Working Hours, you must next enter the Minimum and Maximum Hours that can be utilized.
QR check-In Message – If you are using the QR Check In/Out option, then enter the message that will be displayed once the App User scans the QR Code.

LEAVE SETTINGS
Financial Year Start – The month that should be used as the start of your financial year.
Leave System Enable – Should Time Off be utilized or not.
Leave Apply Enable – Do you want App Users to have to request Time Off?
Admin Email (For Notification) – The email that should be used when the App User request Time Off.
DESIGN SETTINGS
Enter the colors that should be used for Total Leave, In Progress Leave, and Remaining Leave.
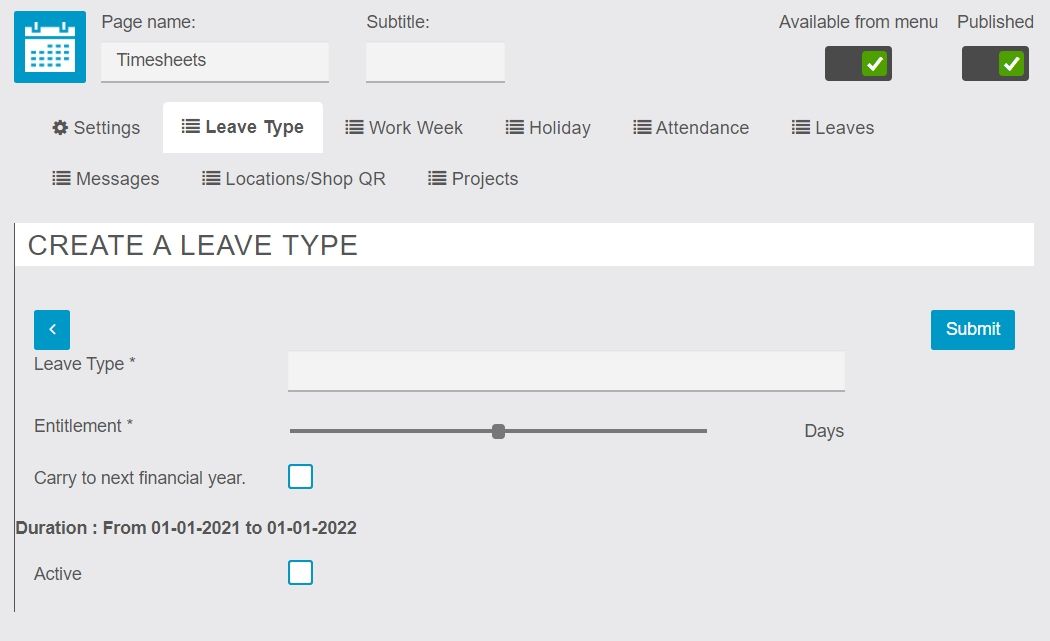
LEAVE TYPE
If enabled, this is where you add the types of Leaves (Time Off) that you want your App Members to be able to select.
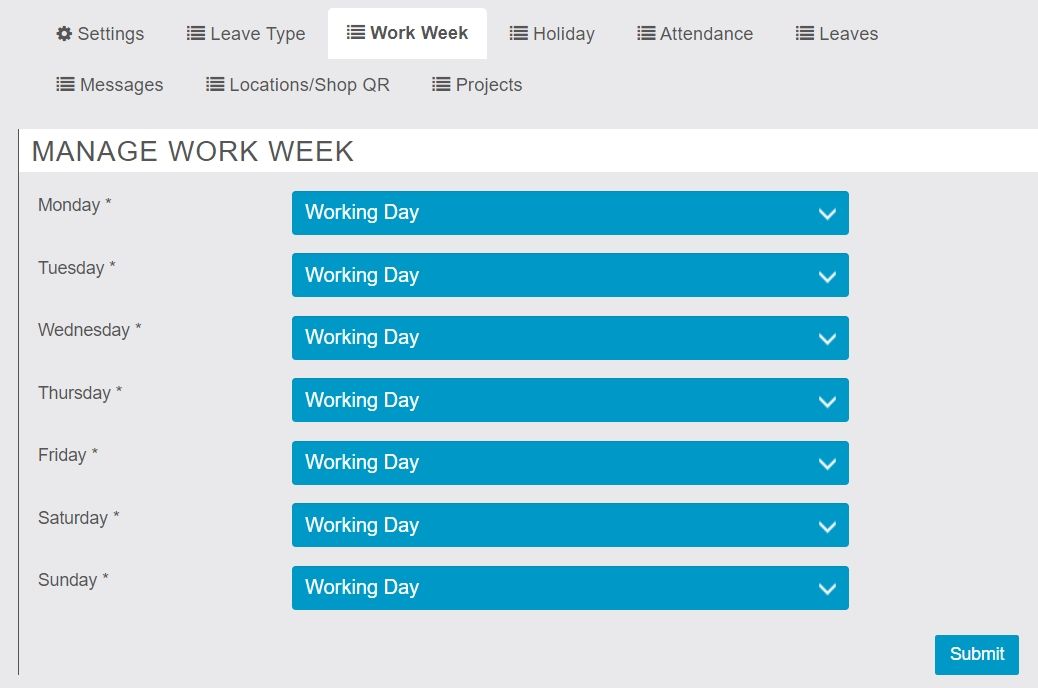
WORK WEEK
Select the days that you want App Users to be able to enter hours on. If it’s set to Working Day, then Hours can be entered. If it’s set to No-Work Day, then Hours cannot be entered.
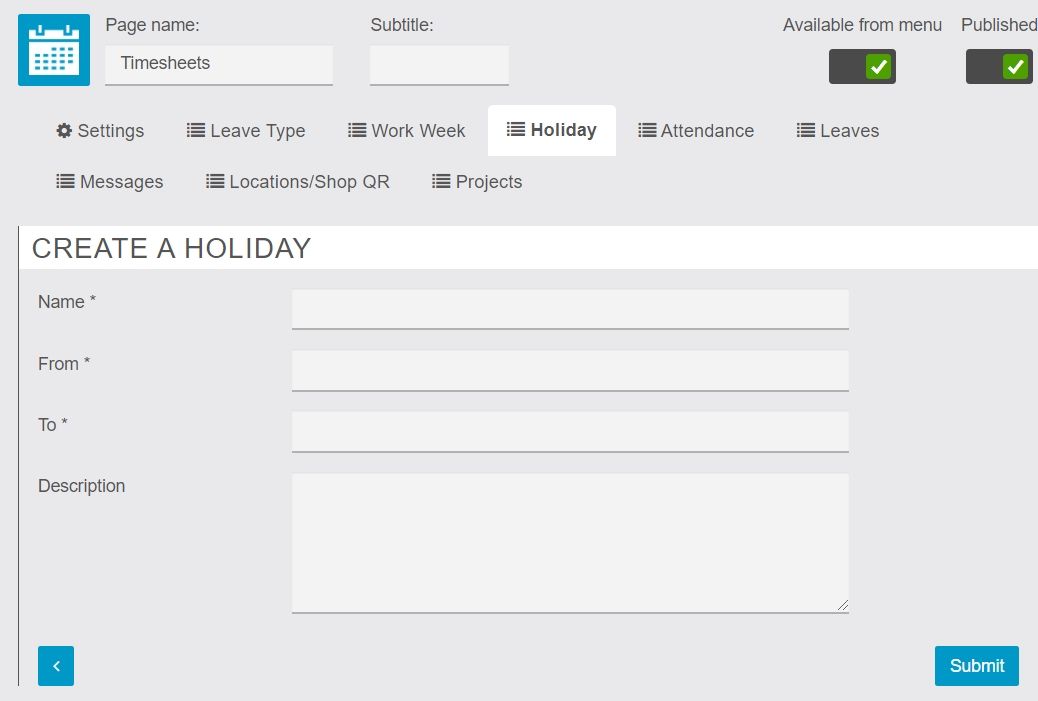
HOLIDAY
The Holiday feature enables you to add Holidays to the app so that App Members will not be able to Check-In/Out during these days.
ATTENDANCE
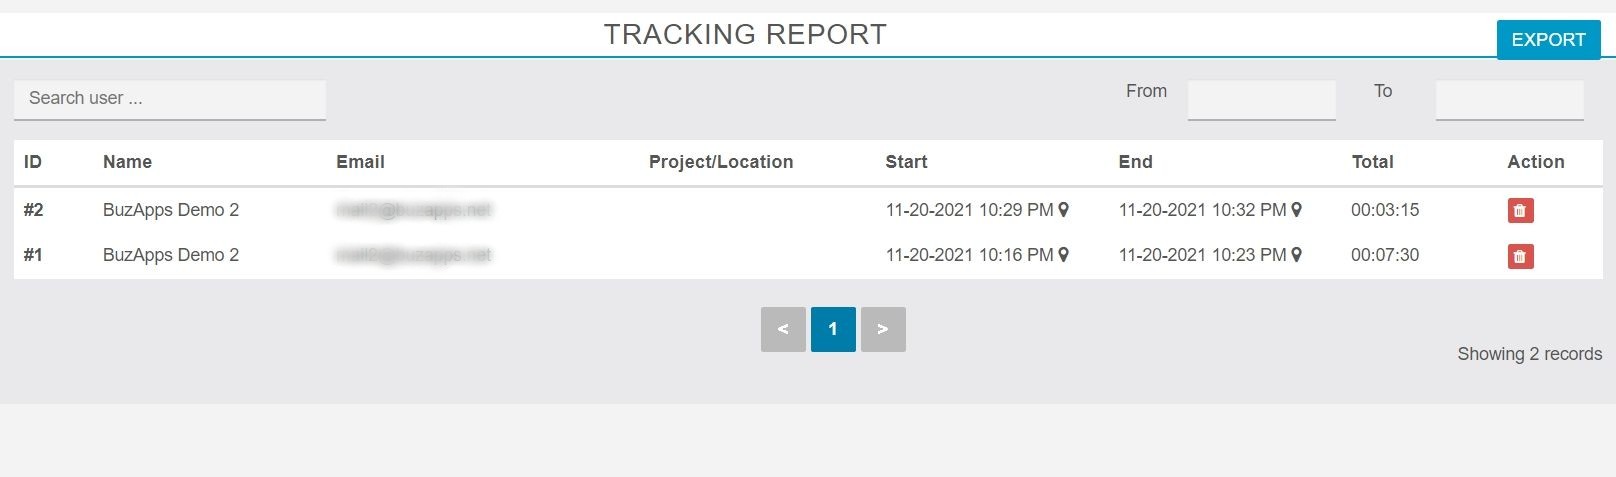
The Attendance feature enables you to run export reports on all of the time submitted by your App Members. In addition to the names and email addresses of your App Users, the report also contains their Check-in/Check-out time, and their total hours.
LEAVES
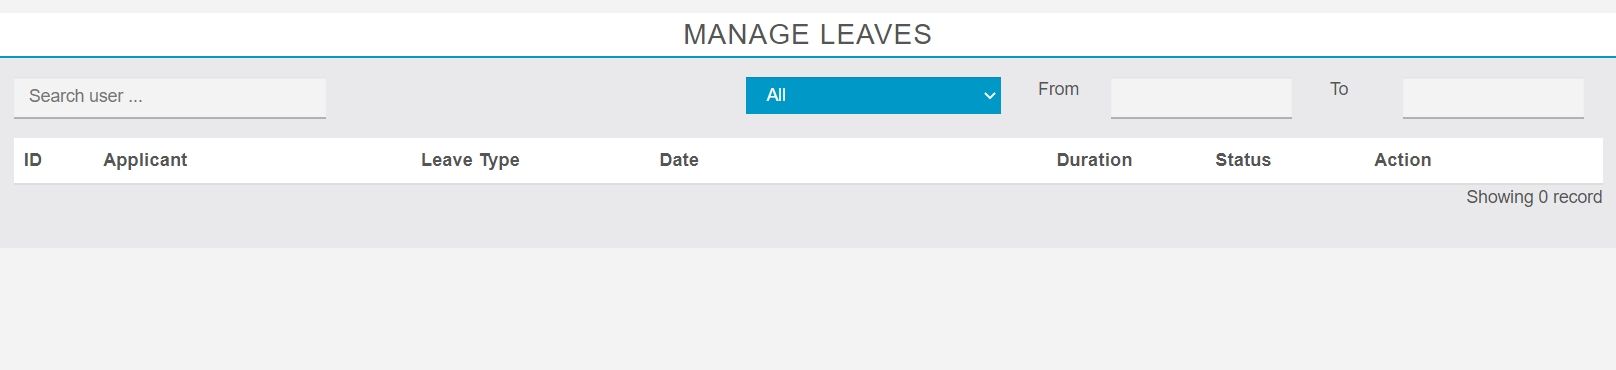
Similar to the Attendance section, the Leaves section enables you to manage the Time-Off that your App Members requested.
MESSAGES
The Messages section enable you to read and reply messages that were sent to you by your App Members via the Timesheet section of the app. In addition, you can send your App Members messages as well.
When you send a message to your App Members, they receive a Notification in the Timesheet section of the app. App Members click the Notification icon to send you a message.
LOCATIONS / SHOP QR
This is where you can create a QR Code that App Members have to scan to Check In/Out. Once the QR Code is created, you can print it, and posted at your work-site. The App Member then use the app to scan the QR Code to Check-In/Out.
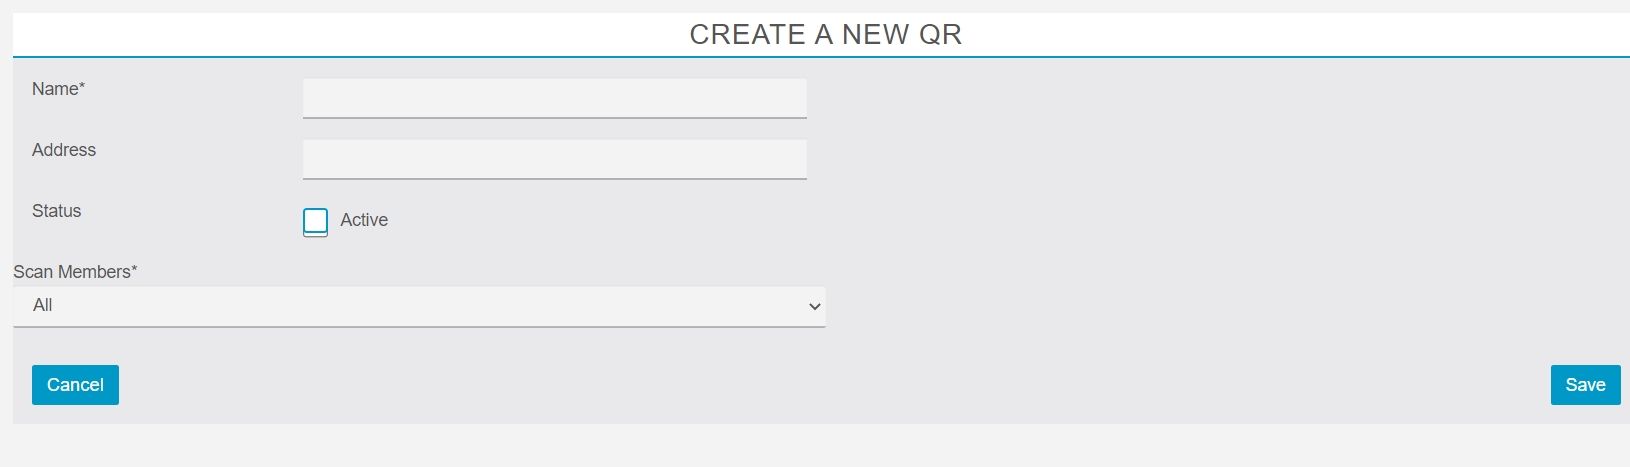
Name – Give the QR Code a name. The name should be relevant to the location where you’re going to use the QR Code.
Address – The Location of where the QR Code is going to be used.
Status – Should the QR Code be enabled or disabled.
Scan Members – Do you want the QR Code to be able to be used by particular (Restricted) App Members or all App Members?

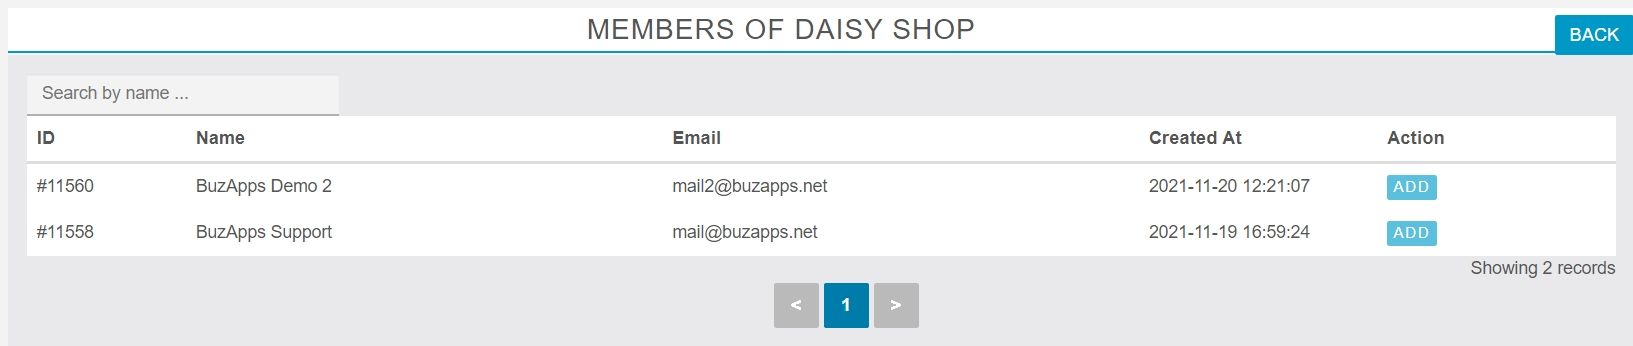
If you made the QR Code for a Restricted Member, you must select the Members that have permission to use the QR Code. Click Members to add the permissions.

After clicking Members, click Add to give the Member access to the QR Code.
PROJECTS
With this option, you can add specific Projects that App Members can use to Check-In/Out.