You can access the push sender editor module in the left menu of our app editor.
PWA push sender editor module will help you to send PWA web push notifications.
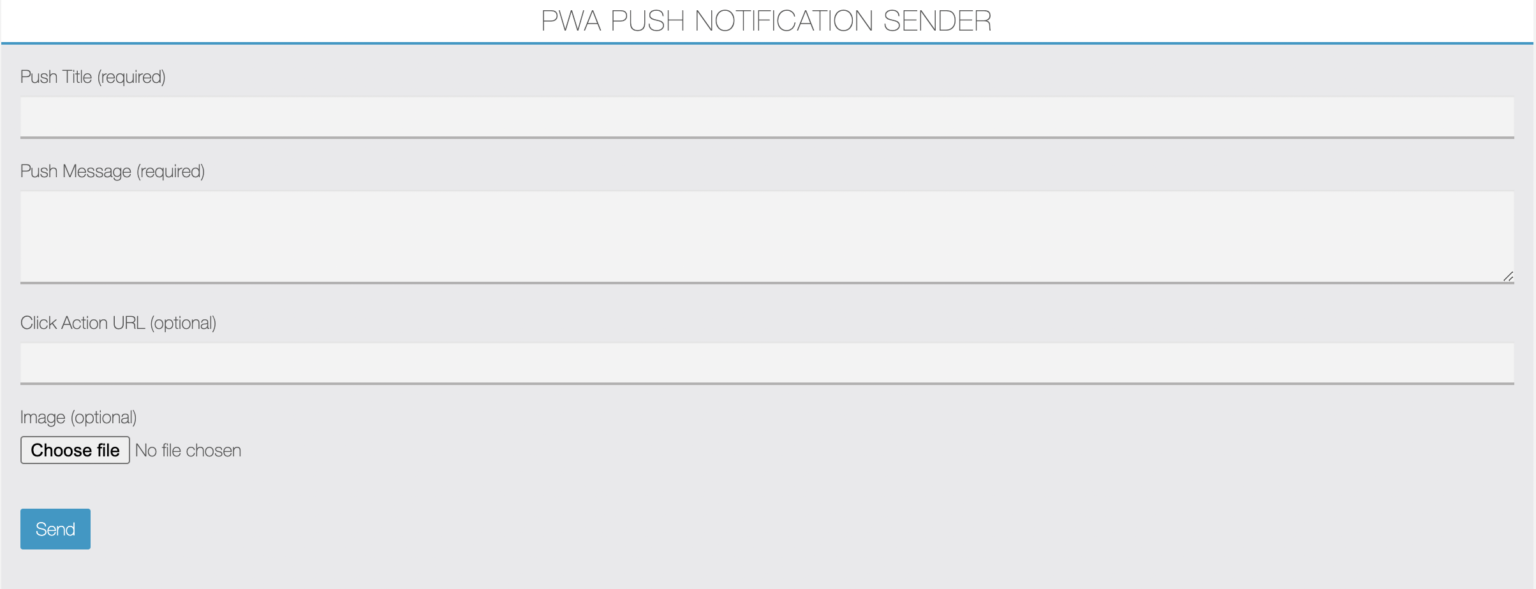
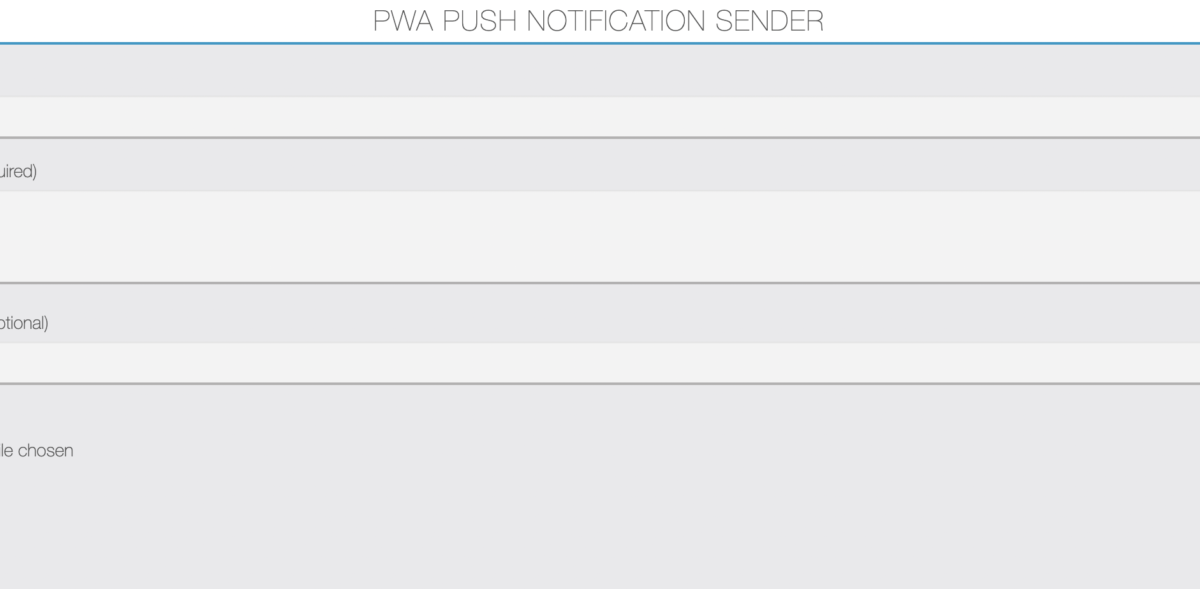
Here fill push notification details like:
Title: Your Push Notification Title.
Message: Your Push Description Message.
Click Action URL: Leave empty or you can even use any external link there.
Image URL: If you want image to include the image with push then upload it there otherwise leave it empty.
Then click on the “Send” button. You will see sent successfully message there like Push has been sent to devices: (number_of_devices_like_1_2_etc).
Best Practices for PWA Web Push Notifications
Push Title:
The title is the first thing your customer will see. The title should be short and sweet. Keep it crisp and simple. The title should clearly state what the notification is all about. Make the title such that it creates curiosity in the user’s mind. A curious user will mostly click on the notification to see what the notification is about.
Push Message:
The description is the space to convey the message. Explain in short-brief about the value proposition of the notification. Keep it informative in sync with the title.
Click Action URL:
This is a click action link of a push notification. If you leave it empty then default PWA Link will be automatically added and it will be redirect the user to your Installed PWA or PWA in browser on click of a push notification. You can even use any external URL there.
Image:
You can make your push notification rich with an image. There’s an option to upload a push image. Keep your push image lightweight in size (less than 1 MB) and it should be in png or jpg format.
The actual rendering of the Web Push Notification (length of push title & push message) depends on the device’s screen size, OS and browser version being used.
For Android Chrome: The ideal push title character limit is 20 to 30, considering the types of screen size.
For Desktop Chrome: The ideal push title character limit is 40 to 60. Though, it’s ideal to use fewer characters to attract your users as well as to fit best view on Android Chrome.
Push message character limit isn’t specified, you can expect maximum 120 characters but maximum 100 characters recommended (without push image). With a push image, push message text will be truncated (usually at 30+ characters) on Android.
Only Android & Desktop (windows) chrome browser supports push image. Chrome removed image support for MacOS in Chrome 59.
Push Image Size: Chrome on Windows: 360×180 (px) or 2:1 aspect ratio Chrome on Android: 1024×512 (px) or 2:1 aspect ratio (Maximum: 2048×1024)
So you can use a push image with 2:1 aspect ratio like 1024×512 which fits best on Android & Windows.
By using this push notification sender, your push will be sent to all your subscribers who have allowed the push notification access on their device.
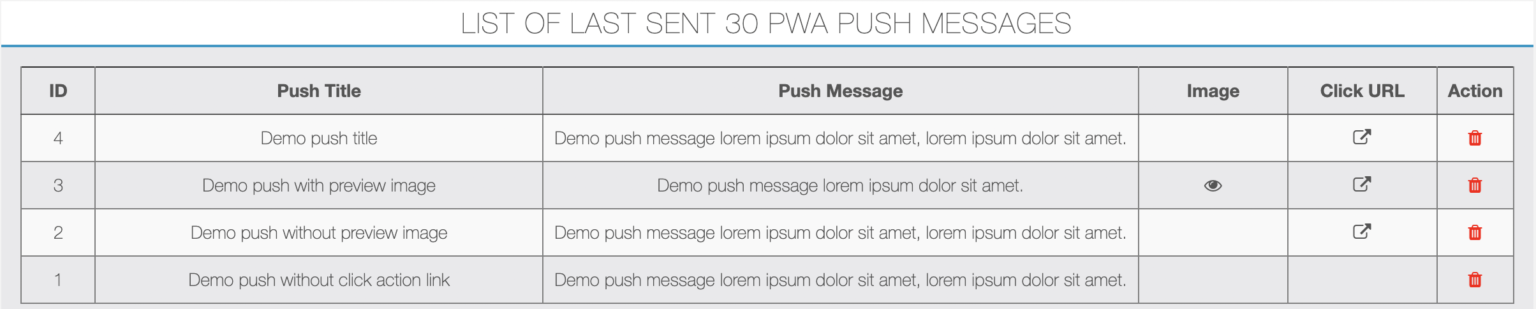
You will see a list of last sent 30 PWA Push Messages. If you want you can also delete sent push message from the list, just click on the red delete button.
Siberian PWA FCM Web Push notification limitations:
- You can’t send individual or scheduled push notifications in PWA.
- Firebase Web Push is only works in Android Chrome, Android Firefox & Desktop Chrome.
- iOS doesn’t support this web push functionality yet.
- You can’t open internal pages of an app using click action link.
Notes:
- The push notification request access prompt can only be shown once as this feature is not application-specific but depends on the vendor/device/browser the application is being used on.
- If you have subscribed push notification successfully then it will display the toast message saying that “Successfully subscribed”.
- Once the notification access is allowed or denied, the prompt cannot be shown again. These settings can be changed by the user by visiting the browser’s/device settings for your particular website / PWA URL.
- As an admin, you may work with multiple push enabled PWAs, so if you have allowed push for your earlier PWA then for new PWA you won’t show the push request access prompt again if you’re on the same domain. So for each new PWA you can clear cache of your chrome browser and re-enable the push notifications permissions.
- If you are sending a push from the desktop chrome browser using the push sender editor module and you’ve subscribed for the notification then you must have open your PWA URL into other browser tab to receive it on your desktop chrome. This is because of you are currently on same domain at a time of push sending, while your other push subscribers doesn’t has to do anything, they will receive push notifications as usual.
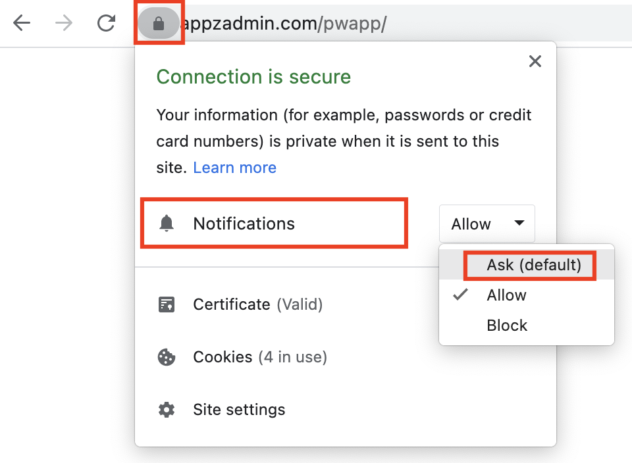
How to reset push notification permission on the chrome browser?
For desktop chrome browser: Click on the green padlock icon shown in the address bar. Choose “Ask (default)” in Notifications. Then reload / hard reload the page.
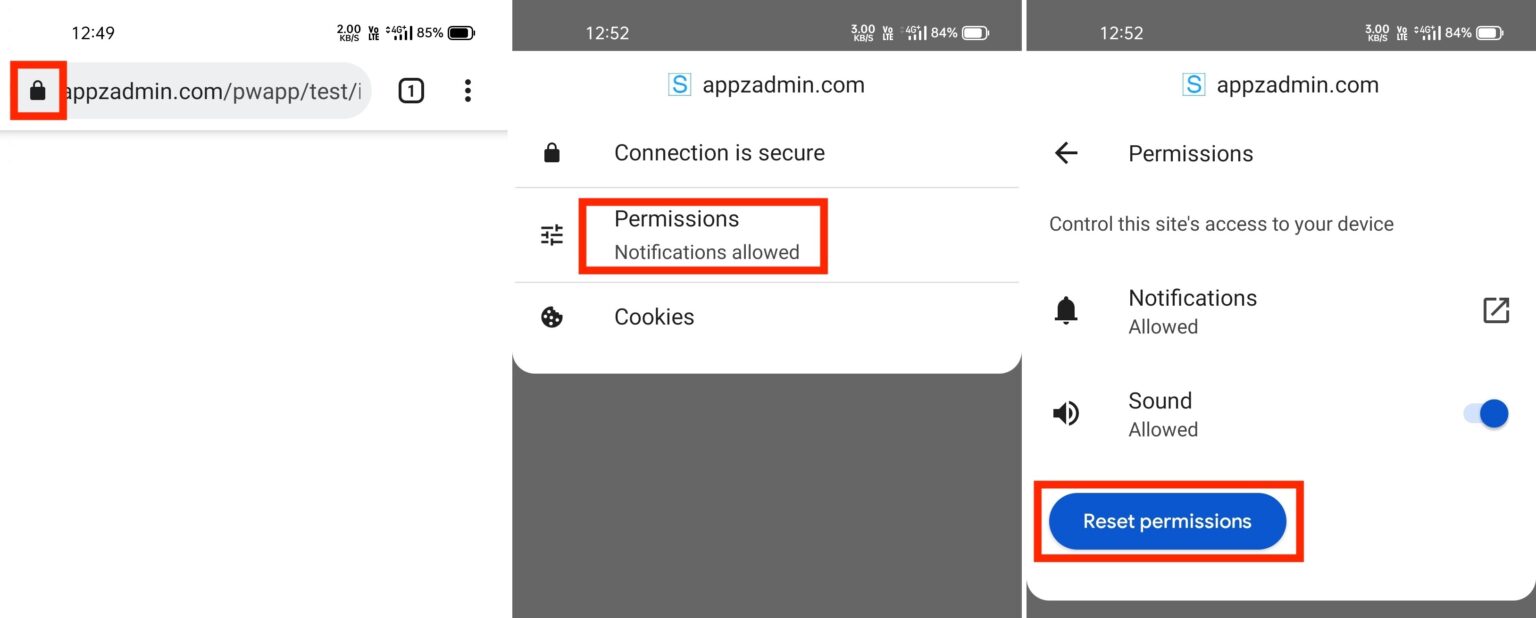
For android chrome browser: Click on the green padlock icon shown in the address bar. Then click on “Permissions” and then click on the “Reset permissions” button and reload the page.
How to clear cache for PWA on the desktop chrome browser?
For general cache clear you can follow this guide.
Open your PWA on desktop chrome browser and right click and choose “Inspect / Inspect element“. Then click on the “Application” tab and then “Storage”.

Here scroll and find “Clear site data” and click on it and then reload / hard reload the page.
How to hard reload the page on the chrome browser?
To hard refresh on Google Chrome on Windows, there are two ways you can do it:
(1) Hold down Ctrl and click the Reload button.
(2) Or Hold down Ctrl and press F5.
To do a hard refresh on Google Chrome on Mac, there are two ways that you can do it:
(1) Hold down Shift and click the Reload button.
(2) Or Hold down Command, Shift and click the ‘R’ key.

Tip for empty cache and hard reload:
While your inspect element panel is opened, you can right click on the browser reload icon and choose “Empty cache and hard reload“.
