What is XDelivery?
XDelivery is an all in one solution that includes everything you need to create your online delivery app for your Fast Food, Coffee, restaurant.
Multistore management will be released in future updates. Based on the location, the customer can choose the nearest store.
Features
- Delivery or Pickup Option
- Maximum Distance for Delivery (coming soon)
- Extra Options with a price(toppings, extra, additional comments) with multiple-choice, limited choice and single choice
- MultiStore feature for restaurants with multiple locations (coming soon)
- Automatic Order Printing directly to your thermal printer (coming soon)
- Multiple Customer Addresses
- Accept/Decline Orders
- Wishlist
- Order History
- Loyality Card, Product Gift (coming soon)
- Report sales (coming soon)
- Import/Export (coming soon)
How does it work?
Extra Options
Create Extra Option Categories
Before creating extra options you should first have created an extra option category to assign the extra options there.
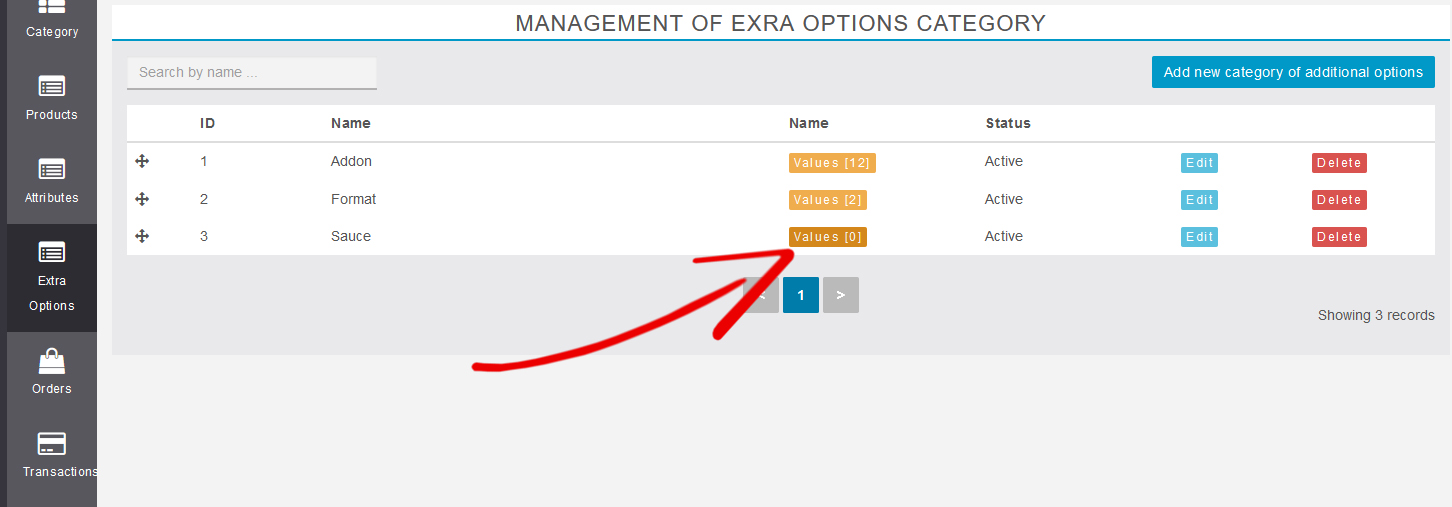
Navigate to Products > Extra Options
You will see a button Add new category of additional options . Clicking on the button will create a new Extra Option Category:
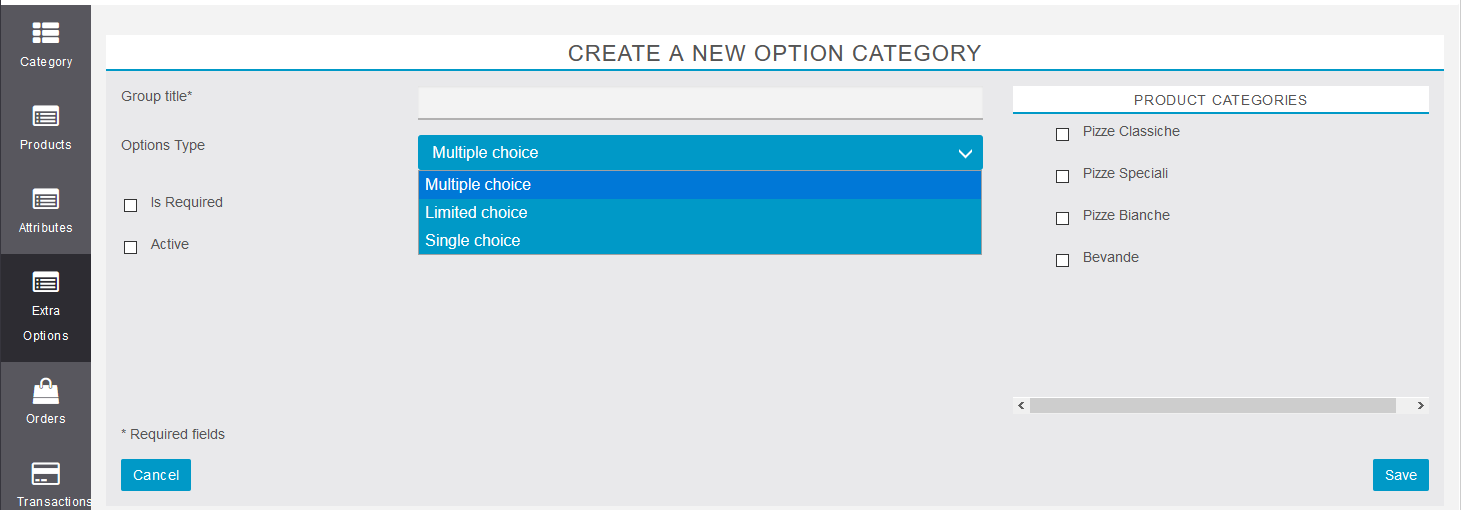
Set a name like “Sauces” on Group Title. You can select the type of extra option category from Checkbox Multiple choice, Limited Choice, Single Choice. Select the categories this group can use and choose if it should be a required choice and if it should be active
Extra Option Category Types
- Multiple choice (The most common extra option category type. The user can select any number of extra options without restrictions)
- Limited Choice (You can specify the Maximum Options that can be selected . Selection will automatically be disabled after the limit has been reached)
- Single Choice (You can select only one option with radio format)
Create an Extra Option
Navigate to Products > Extra Options and click on the button ![]() .
.
Complete the extra option name and price (leave it blank or set it to 0 if this extra option is free) and press Add More Value to add more extra options.

After pressing the Save button, the extra options will appear like the following screenshot.
You can drag n drop ![]() the extra options to change the order that will appear to the end-user. You can also
the extra options to change the order that will appear to the end-user. You can also ![]() button to remove the extra option.
button to remove the extra option.
Assign Extra Option Categories on Simple Product
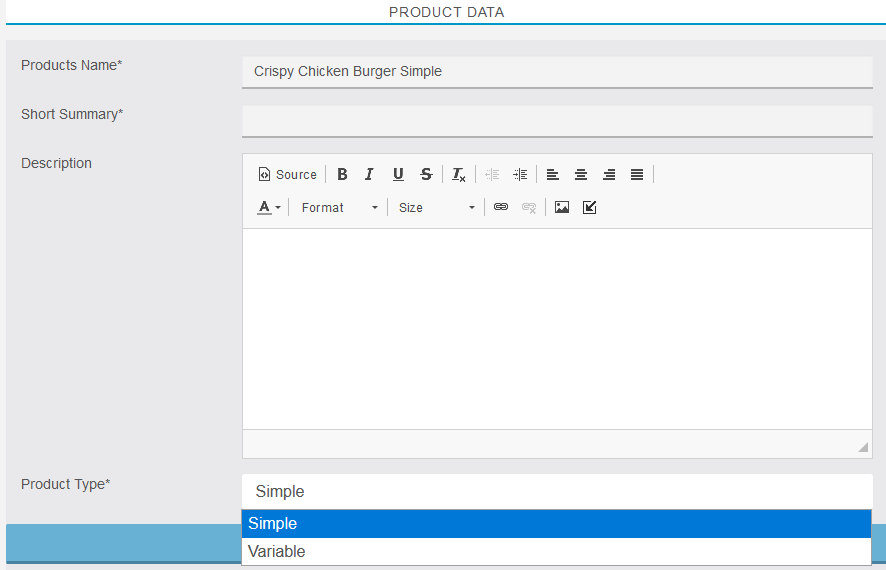
Create a simple product on XDelivery (let’s call it, for example, Crispy Chicken Burger Simple).
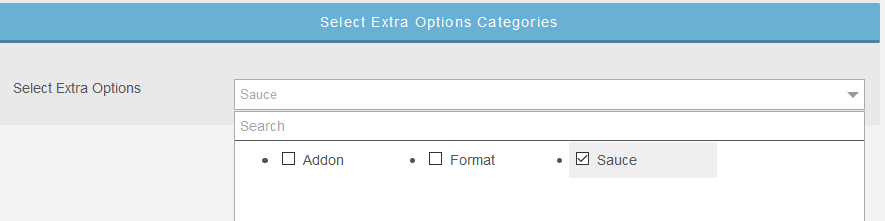
Under Select Extra Option Categories, you will notice a XDelivery’s Select Extra Options drop-down menu.
Select Select Extra Options and what you see will look like the screenshot below.

You will see all the categories of additional options (if you want to set multiple categories of additional options on the product, you can select more than one.
You can select the categories of additional options you want to make visible to the product by clicking on the category of additional options you want.
After selecting some categories of additional options for the product, the screen will look like the previous screen.
Create a new Product Simple
Navigate to Products and click on the button Create a New Product
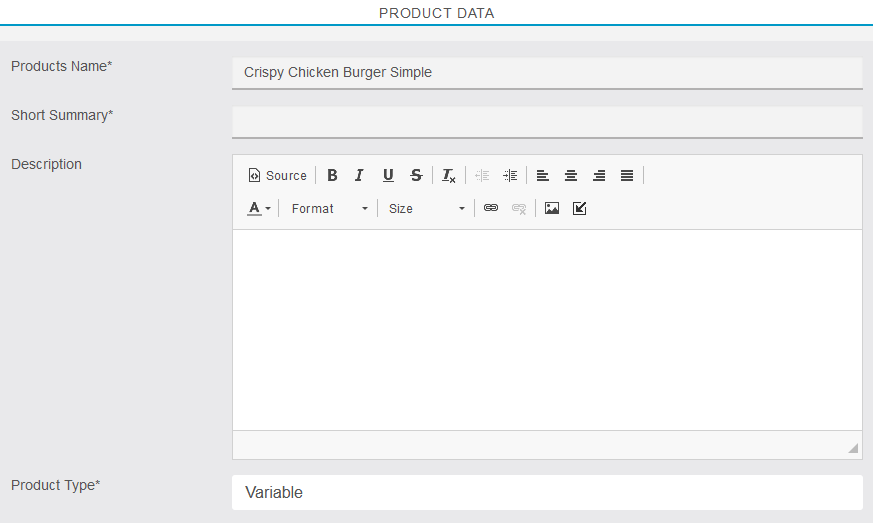
Product Data
In Product Data they must be filled in with the Product Name, the Short Summary, the Description (optional) and the Type Product (Simple o Variable).
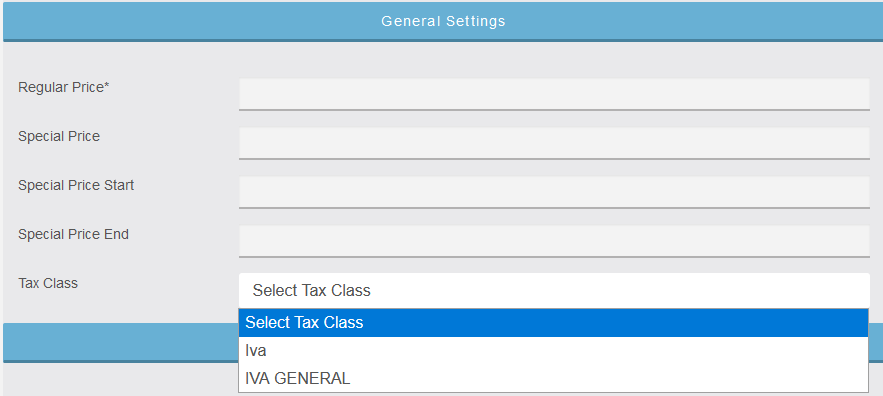
General Settings
In General Settings we have the Regular Price, Special Price (optional), the duration in days Start and end Special Price that we want to apply (optional) and the Tax.
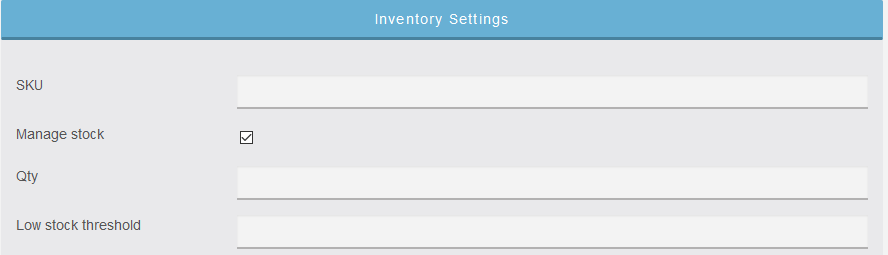
Inventory Settings
Inventory Settings we have the SKU field, the ability to enable the Manage stock by entering the quantities in stock and the Low stock threshold.
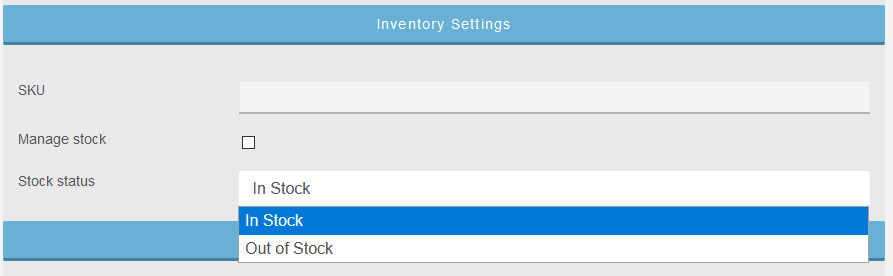
or select only the Stock status (In Stock, Out Of Stock).
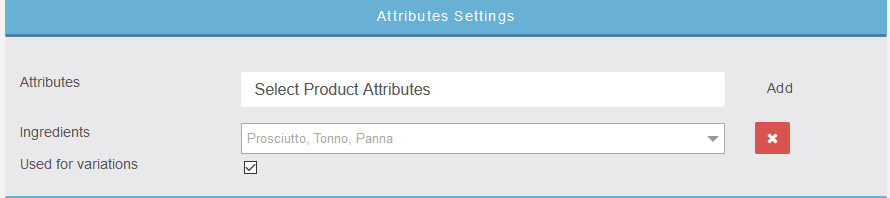
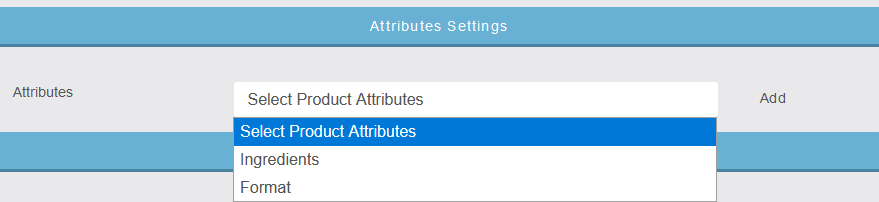
Attributes Settings
In Attributes Settings we can use previously created attributes for the creation of a Variable Product or to add simple attributes such as the ingredients that make up the product.
Select Product Attributes and click on Add.

Now select the attributes that make up the product.
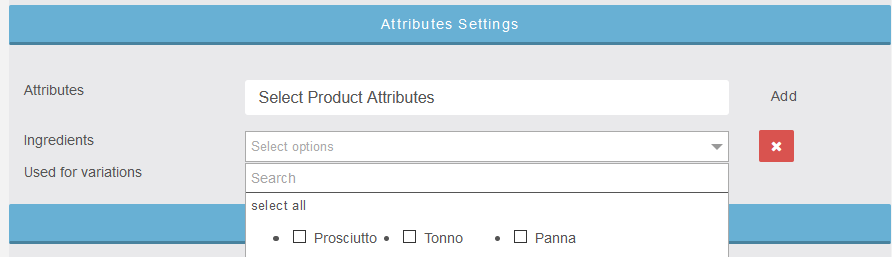
The Used for Variations checkbox is used only on Variable products.
Select Extra Options Categories
In Select Extra Options Categories we can use the Additional Options created previously to add to the product.
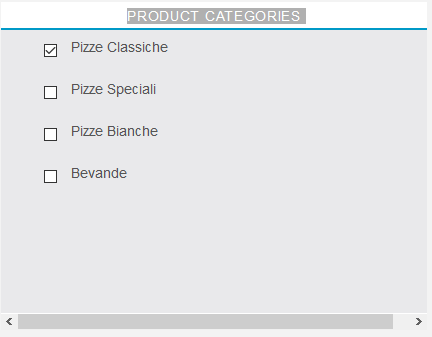
Product Categories
Here we can select the category to which the product belongs.
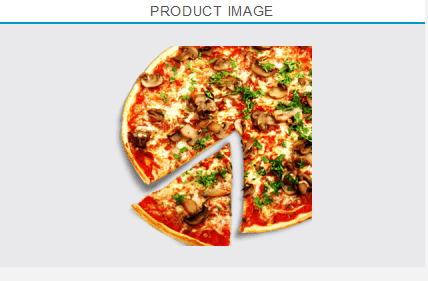
Product Image
Here we can upload a product image.
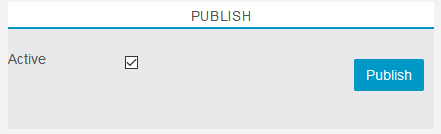
Publish
Now we can click on Active and then on Publish to publish the product.
Create a new Product Variable
Product Data
In Product Data select Product Type on Variable.
By selecting Variable Product the General Setting tab will disappear as the prices will be added to the Variables
Attributes Settings
In Attributes Settings we can use previously created attributes for the creation of a Variable Product or to add simple attributes such as the ingredients that make up the product.
Select Product Attributes and click on Add.
Now select the attributes Format that make up the product and click on Add for per aggiungere le variabili al prodotto che successivamente andremo ad aggiungere cliccando su Select Options.
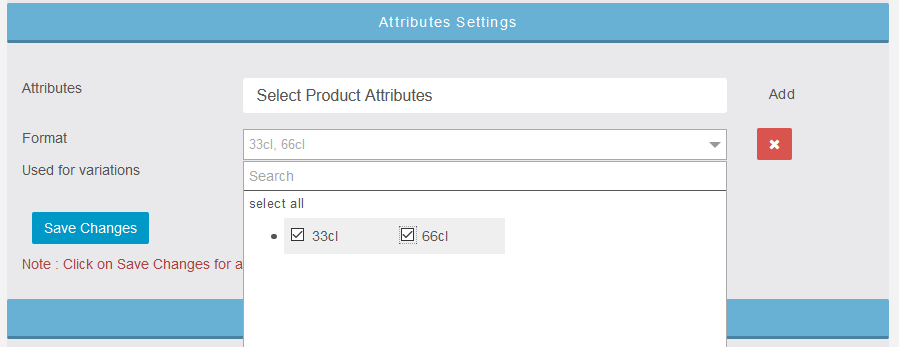
Check the Used for variations checkbox to use the Attributes as product variation.
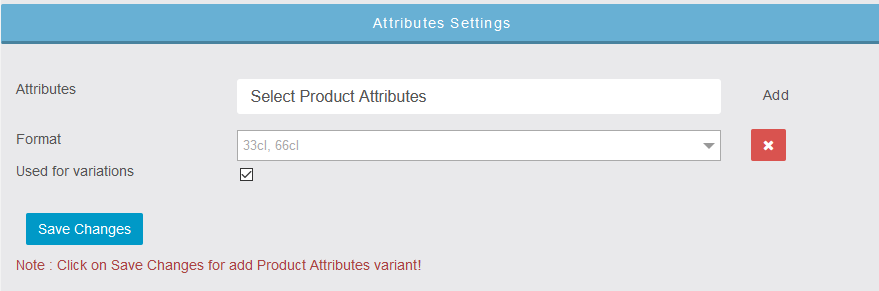
And click on Save Change
Check the Used for variations checkbox again.
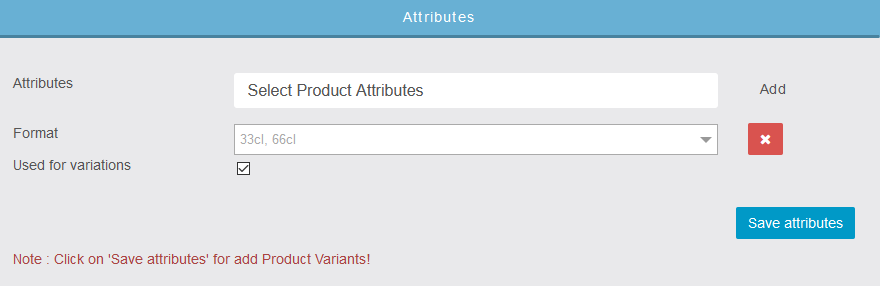
and click on Save Attributes
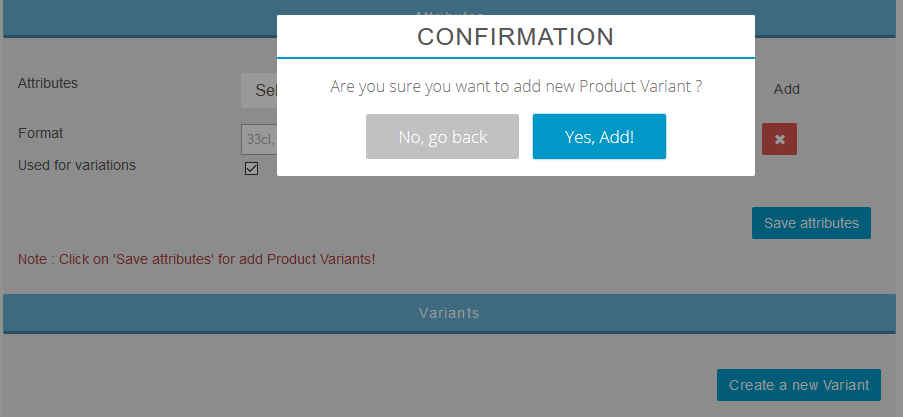
Variants
To create the product variants, click on Create New Variant

Continue whit click Yes, Add!
Now we can add variant products from the created attributes, each adding a variant product as far as the created attributes are.
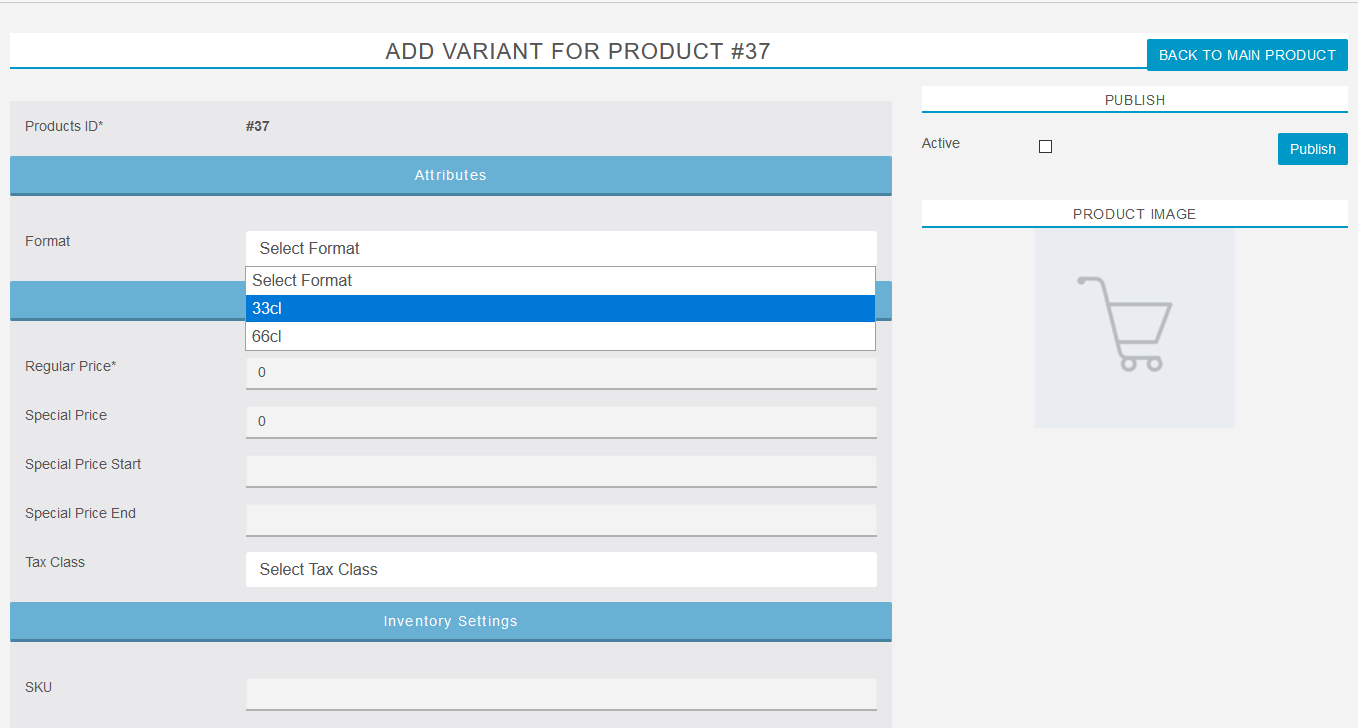
We fill in all the fields seen above as in the Simple version to complete our product.
Slider
The Slider function allows us to insert different images within categories such as promotional ads, labels, etc.
To add a slide, click on +
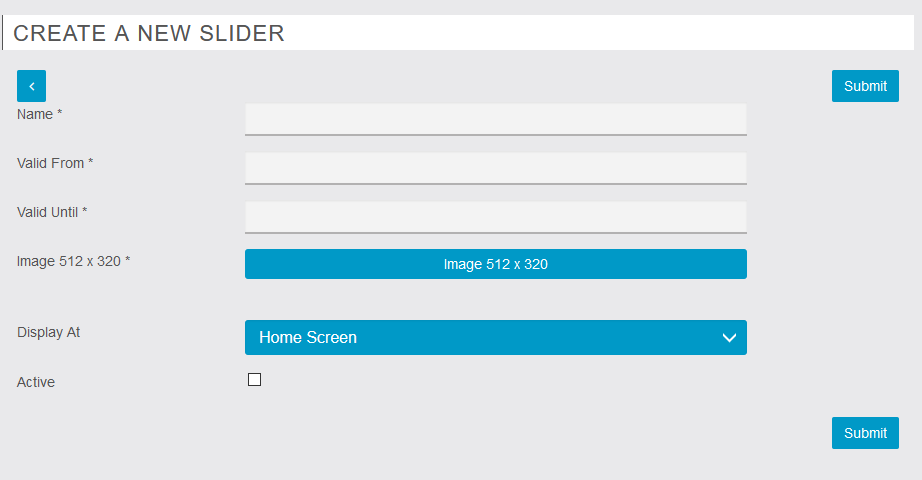
we select the duration of the slide and the position where we want it to appear, check Active and click Submit.
Business Day
In Business Days we can select the business days of the shop.
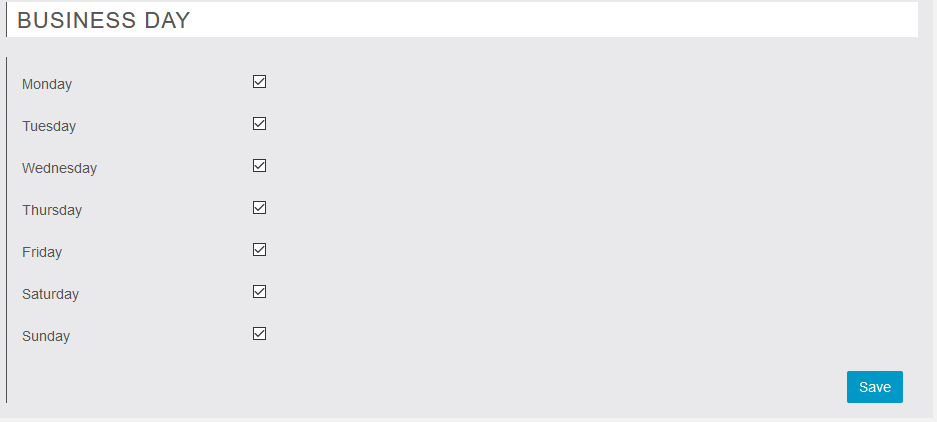
We select the desired days and click on Save.
Store
In Store we compile the data of our store (the multi-store will arrive with the next updates).
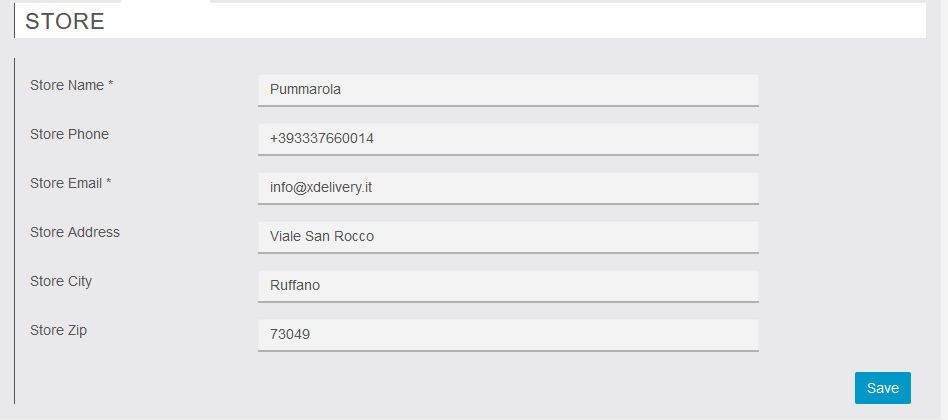
and click on Save.
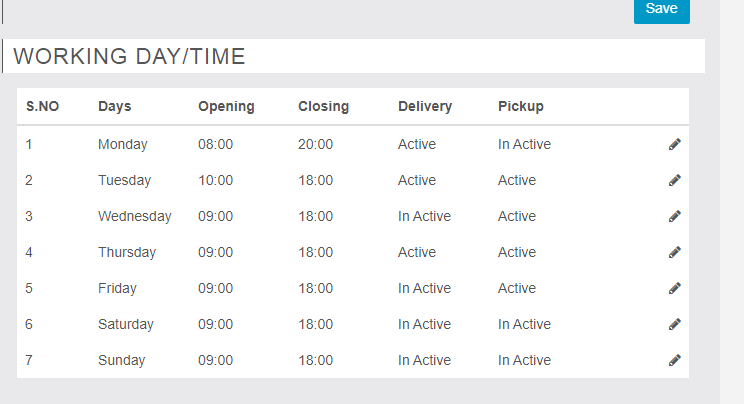
Time Slot
Taxes
The product taxes are set here.
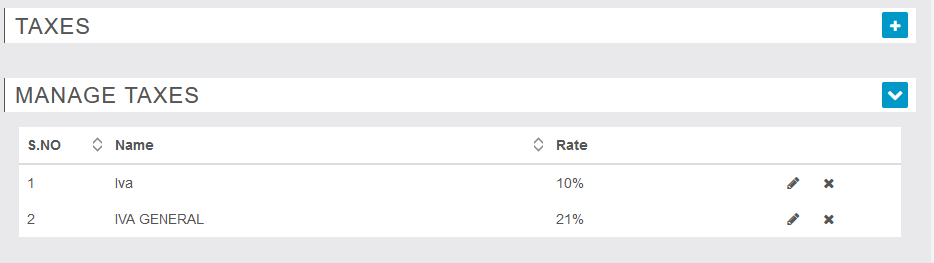
To add tax, click on +
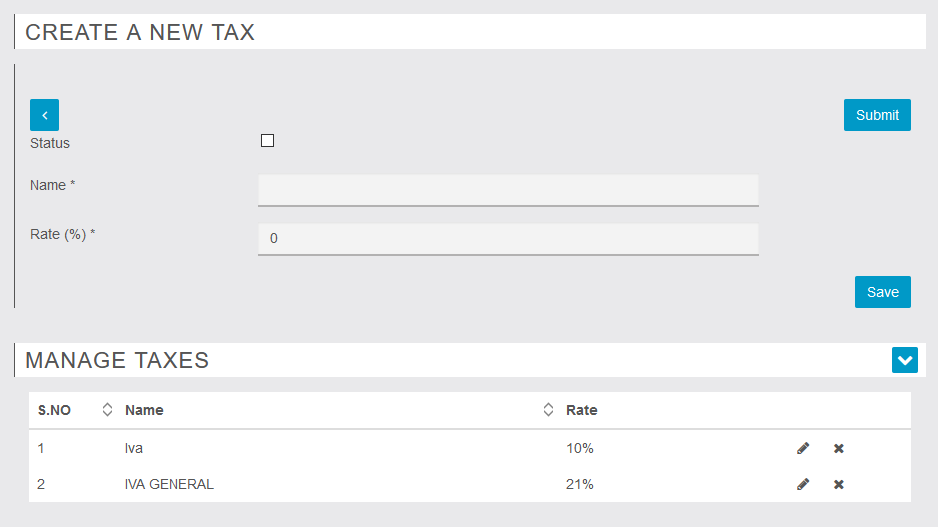
We fill in all the entries and click on Save.
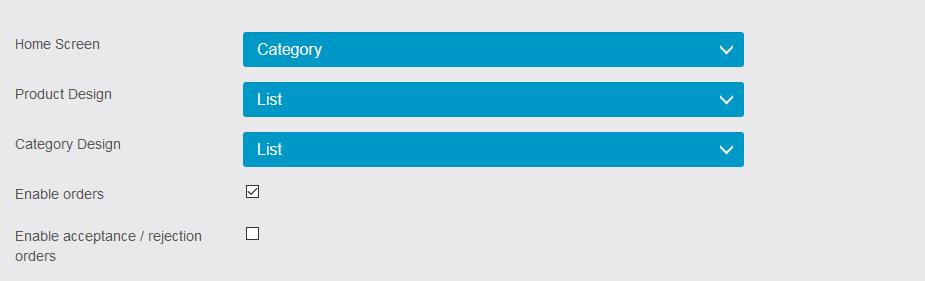
Settings
In Setting we can set some display options such as displaying Products or Categories in Home, by Product and Category Design whether to display in List or Grid, enabling orders and Accept / Reject Orders.
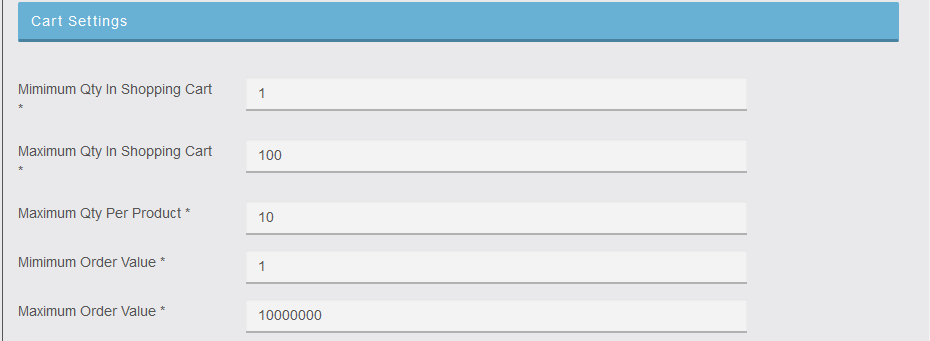
Cart Settings
In Cart Setting we can set a series of restrictions on the sale of products
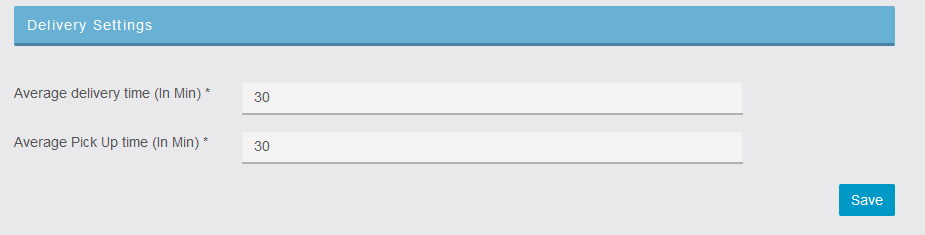
Delivery Settings
In Delivery Setting we can set the time it takes to deliver the products
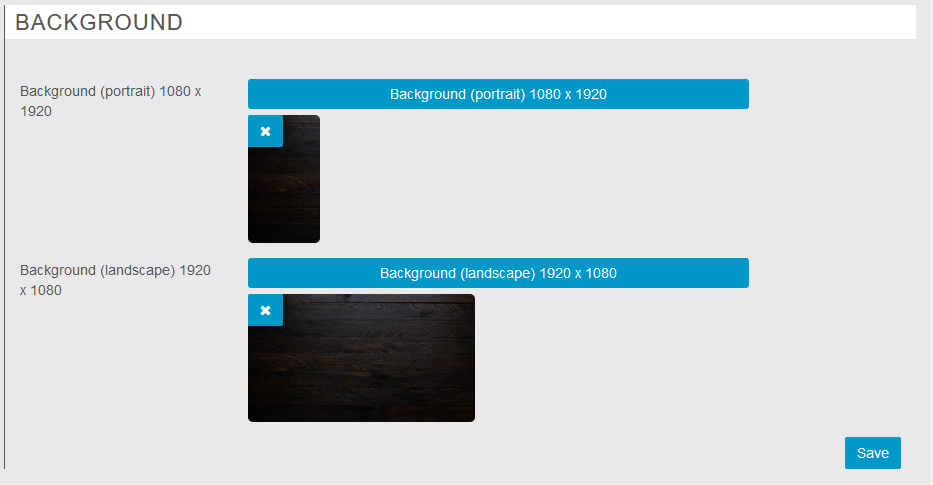
Background
Here we can set the background to be used in XDelivery.
Delivery/Pickup
Here we set the Delivery / Pickup rules.
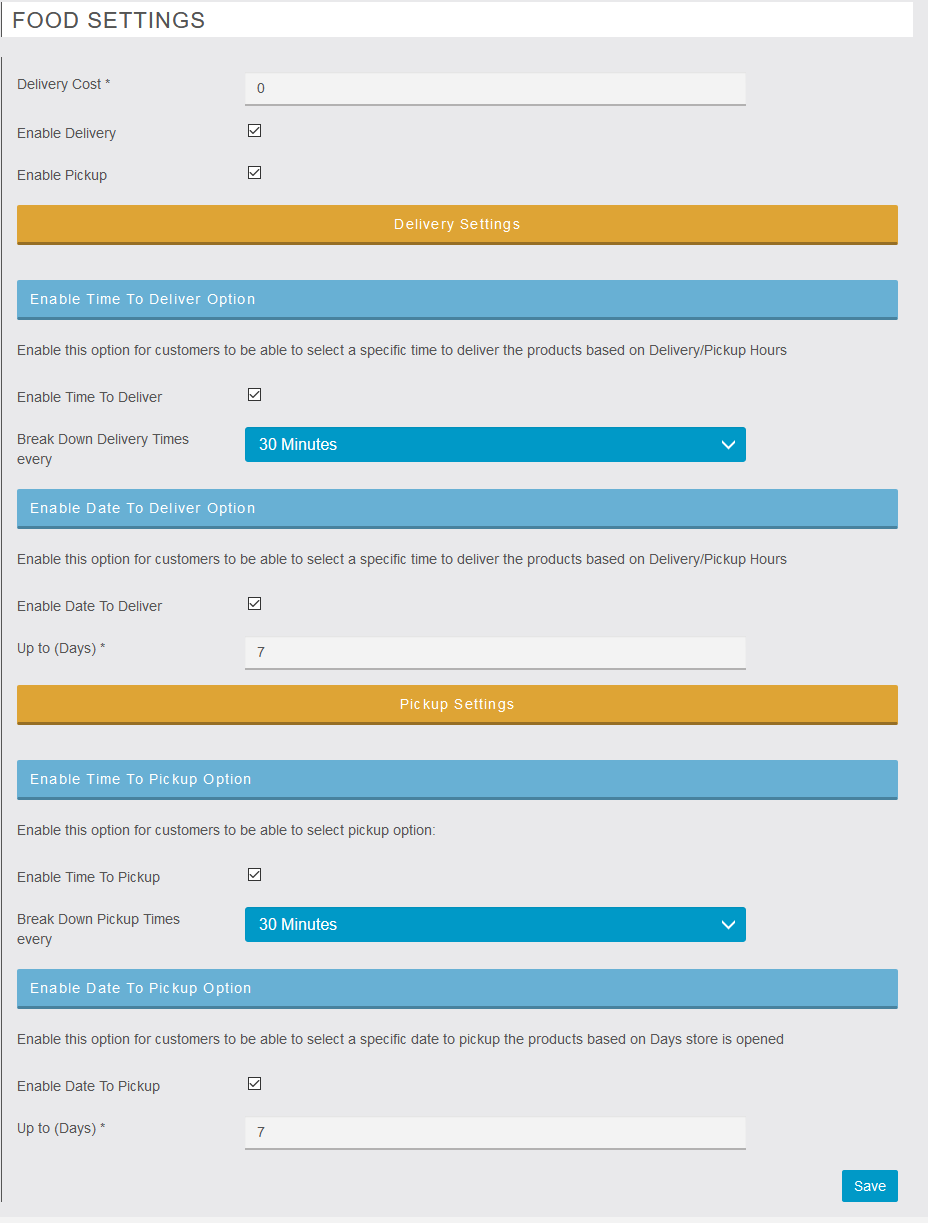
After setting everything click Save
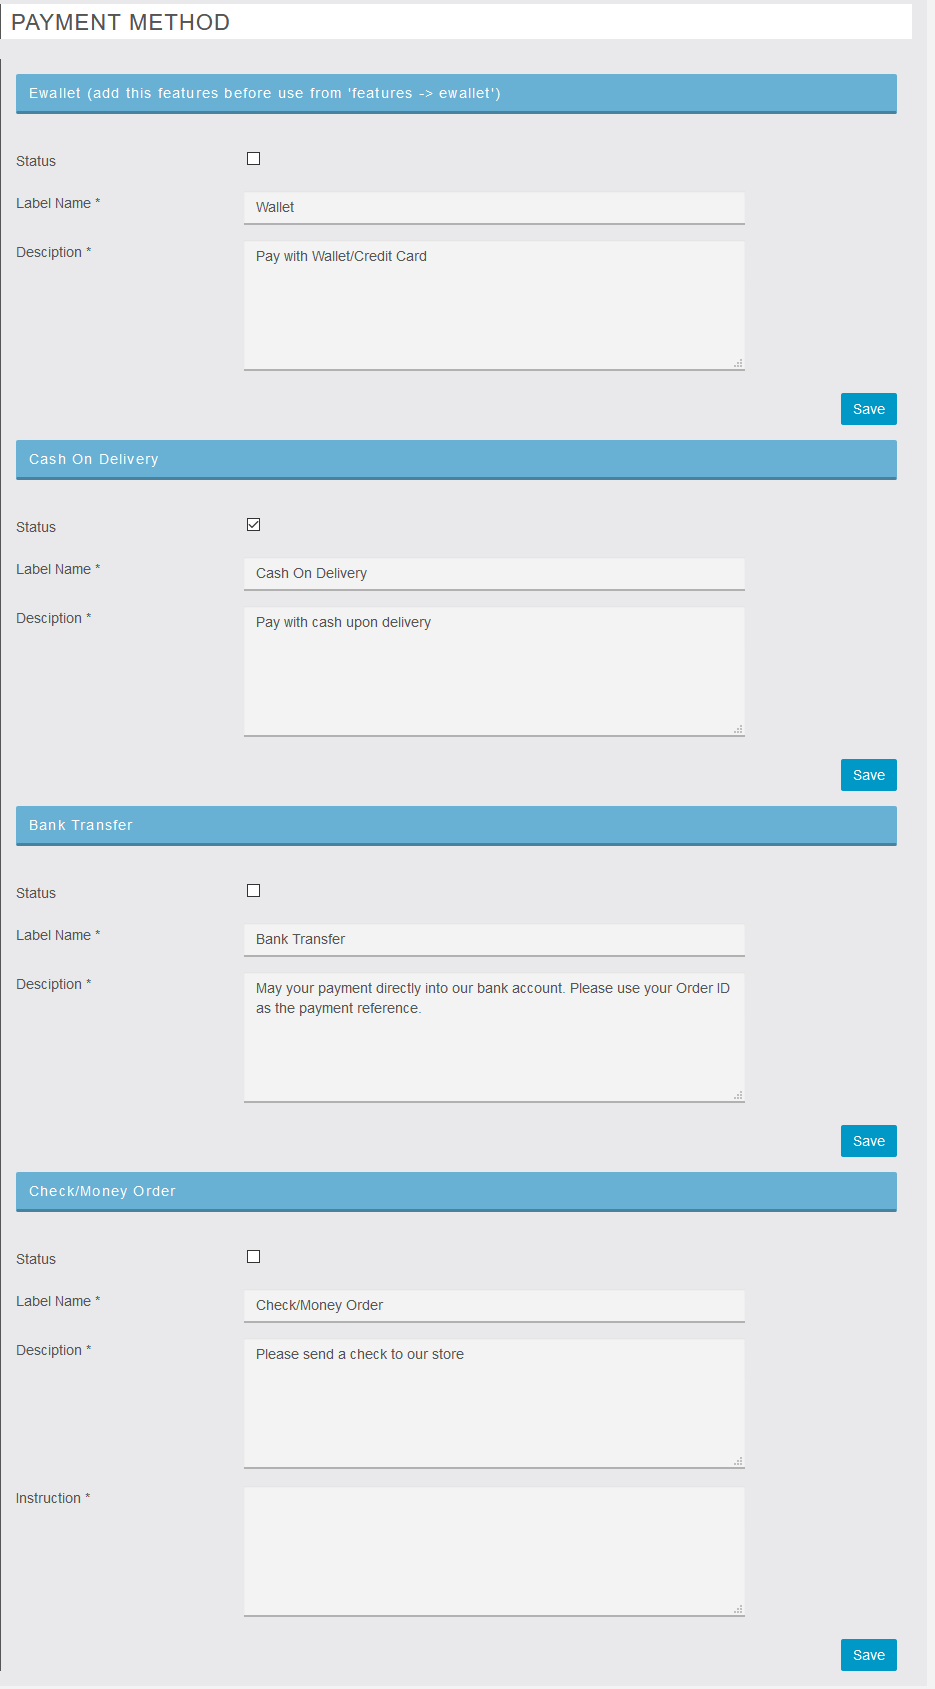
Payment Method